White background photography has a tendency to be more challenging than most novices expect. Precisely why so many web retailers struggle to present their products as attractively as they’d like.
However, it’s also true to say that once you get to grips with the basics of white background product photography, it becomes much easier to capture and publish outstanding product imagery.
With this in mind, here’s a brief overview of 5 essential ecommerce product photography lighting tips, to get you started:
TIP 1 – Set Up the Right White Backdrop
First and foremost, it is essential to ensure you set up the right kind of backdrop for your products. It doesn’t need to be too big or if your products are relatively small, aim for a white backdrop that provides around the same width as the product in empty space on either side of it.
In addition, it’s also important to ensure that the backdrop has a slight but smooth curve, which will help prevent shadows being created when taking your photographs.
TIP 2 – Place Your Subject in the Centre
Don’t attempt to get too creative with positioning – the best bet is to simply place your product right in the centre of the white background. Not too close to the background as to create shadows, but not too far as to create a somewhat disproportionate appearance.
When you have found the ideal spot for your packshot photography, make a discreet mark on the surface so you know exactly where to put your products next time.
TIP 3 – Frame Your Shot Carefully
It’s worth remembering that with many (if not most) online marketplaces and ecommerce platforms, the standard image ratio used is 1:1. Therefore, it makes sense to shoot your product images in 1:1, or whatever is the standard is on your online store.
Leaving a little room for manoeuvre (i.e. cropping) isn’t a bad idea, but don’t give yourself more work to do than necessary. Images can always be edited, but it’s always easier to shoot as close as possible to the right size in the first place.
TIP 4 – Focus on Lighting
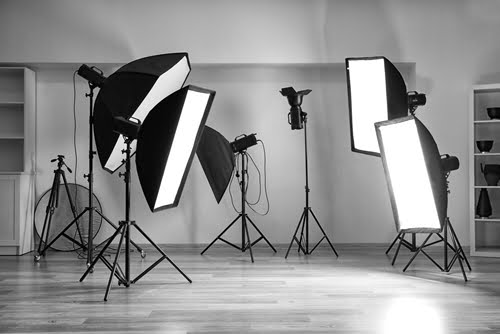
The most important principle for good product lighting is to ensure that the foreground is lighted separately from the background. This typically means making use of multiple lighting sources, rather than a single primary source of light.
Direct one or more lights directly at the background, using separate lights to illuminate your products from a variety of angles. There’s a fair amount of trial and error involved, given the nature of some products to prove more problematic than others where shadows are concerned.
TIP 5 – Manual Exposure Control
Last up, it’s rarely advisable to allow your camera to automatically choose the appropriate exposure setting. Auto modes are designed to average out images, translating to a greyish background and a dull or poorly presented product.
Choose the right exposure setting for the product, as opposed to the image as a whole. A small aperture of f10+ usually gets the job done best, in conjunction with a stable tripod to keep things steady with a lower shutter speed.


